
Fabrication Station equipment
MIG welder.
The workshop machine is a Murex Tradesmig 260-1. MIG welding uses a continuously fed wire electrode to join metal, and consistent results depend on preparation, machine setup, torch control and supervised practice.
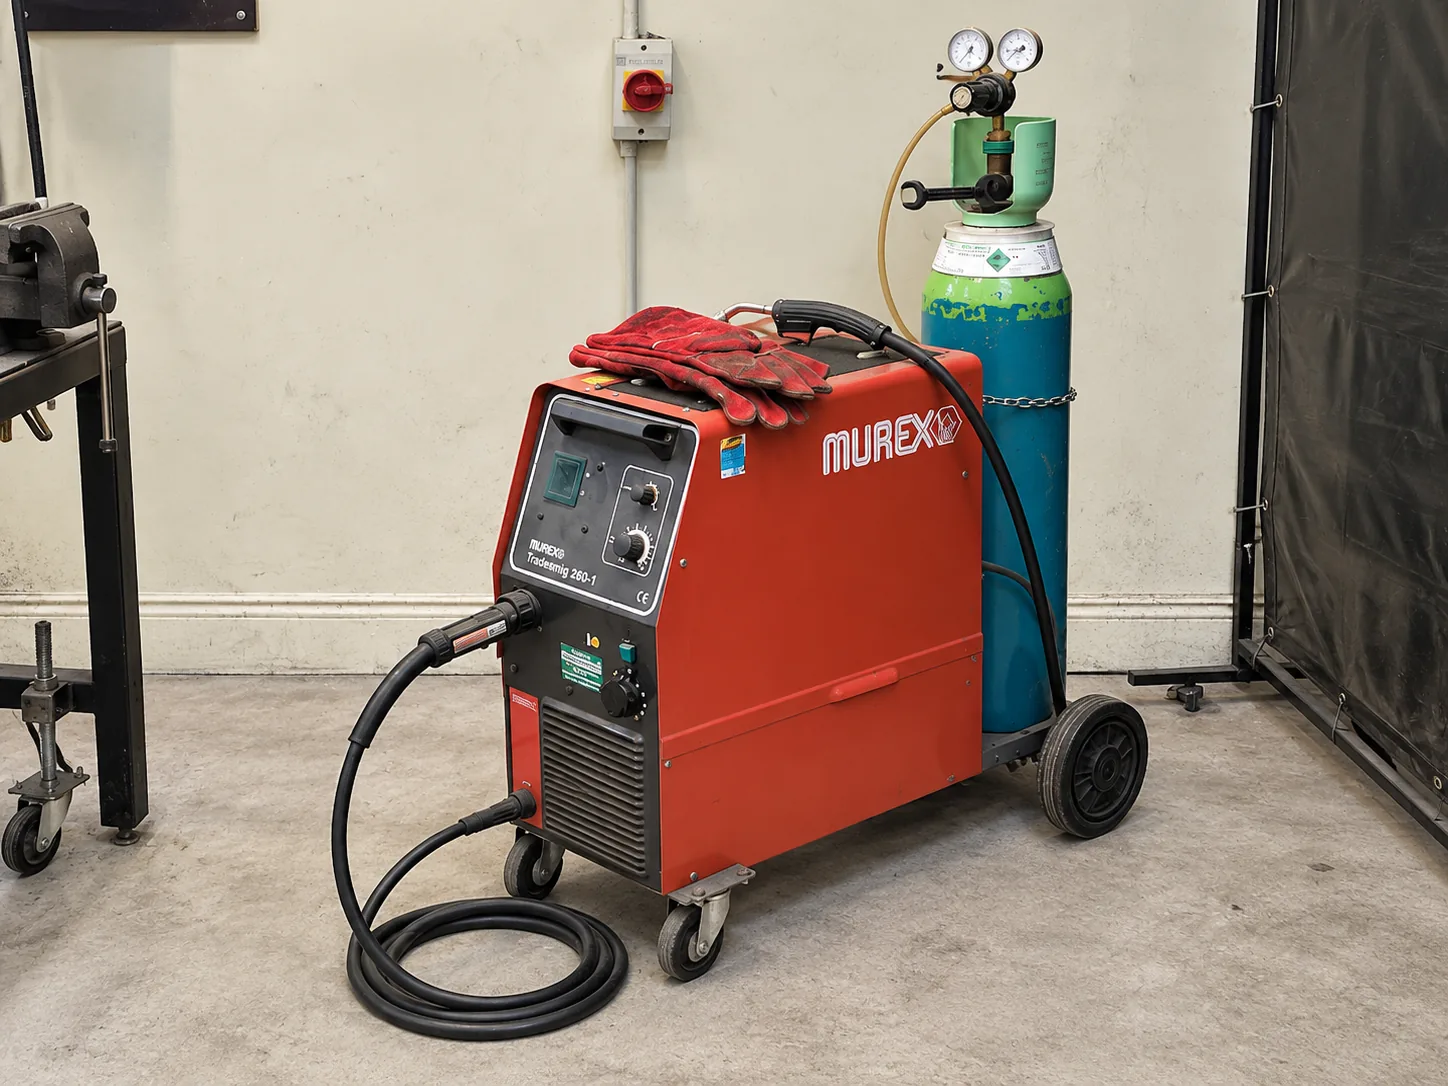
The machine
A Murex Tradesmig 260-1, made by ESAB. It runs from a 240 V single-phase supply and takes a standard EURO torch connection.
| Setting | Range |
|---|---|
| Welding current | 40 A to 260 A |
| Wire feed speed | 1.9 to 19 m/min |
| Steel wire | 0.6 to 1.2 mm |
| Spool | Up to 300 mm and 15 kg |
The machine cannot weld continuously at its maximum output. At 250 A it is rated for two minutes of welding in every ten, and at 110 A it can run continuously. Working above that rating will trip the thermal cut-out and the machine will stop until it cools.
Confirm the fitted torch, wire and shielding gas with a technician before setting up.
Level 3 / Purple
- Complete Levels 1 and 2 before Level 3 MIG instruction.
- At least one other person must be present in the workshop when you use the MIG welder.
- Set up extraction and welding screens before starting.
- Wear the welding helmet and task-specific protective clothing demonstrated during training.
- Remove flammable material and confirm fire controls are available.
Prepare the joint
- Confirm the material is suitable and identify its thickness.
- Remove paint, rust, oil and contamination from the weld area.
- Prepare and restrain the joint as demonstrated.
- Confirm the fitted wire and shielding gas with a technician.
- Use scrap from the same material for a test weld.
Basic workflow
- Turn on extraction and check the work area.
- Connect the work return clamp to clean metal.
- Set voltage and wire-feed speed using the taught starting point.
- Position yourself so the torch can travel consistently.
- Lower the helmet before striking the arc.
- Maintain the demonstrated angle, distance and travel speed.
- Release the trigger and allow the work to cool safely.
- Inspect the weld before changing settings.
Listen to the demonstration

Load the MIG welding video?
YouTube will receive information including your IP address when you load this video.
Watch on YouTube instead ↗Common problems
Wire burns back
Stop and ask about contact-tip distance, wire feed and voltage.
Porosity
Check cleaning, shielding-gas flow, draughts and torch position.
Excessive spatter
Recheck preparation and the taught relationship between voltage and wire feed.