
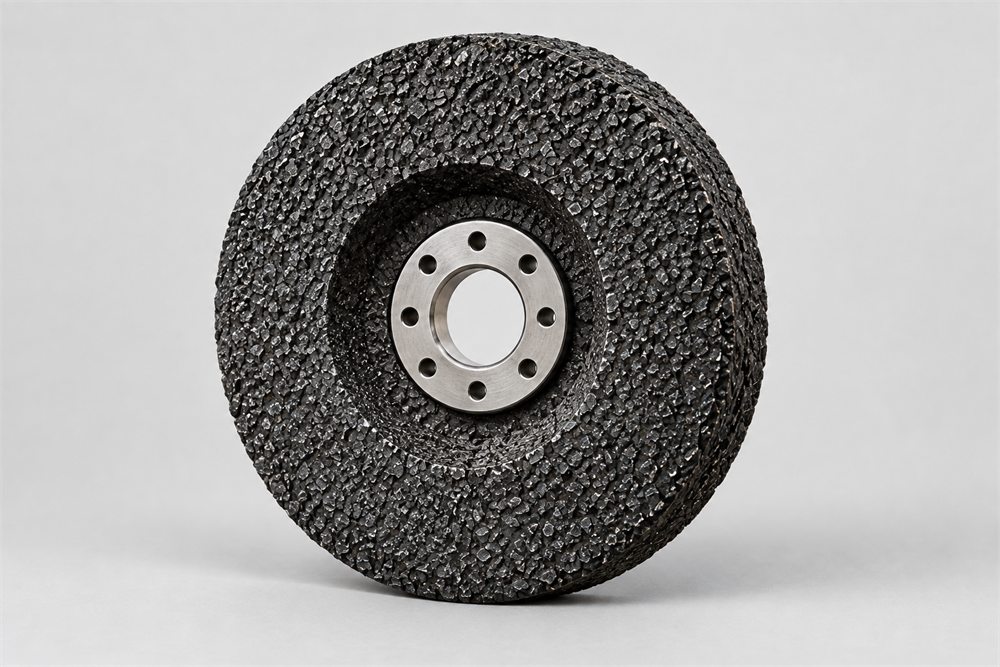
Grinding disc
Heavy material removal and rough weld shaping. Thick and depressed-centre, worked at a shallow angle to the surface. Produces a coarse finish. Not for cutting.
Fabrication Station equipment
Grinding, cutting, finishing and surface cleaning require different attachments. Read the disc label and match it to the machine, material and task.
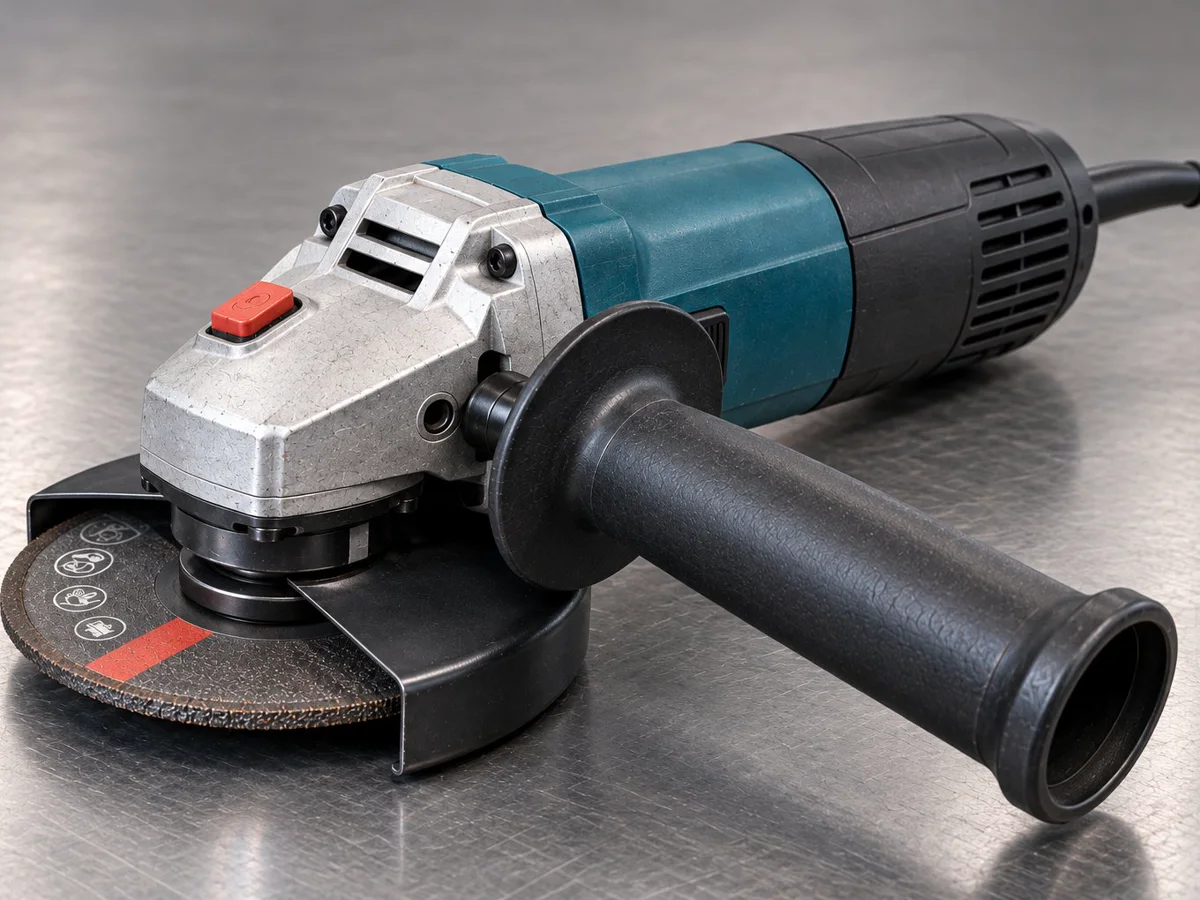
Heavy material removal and rough weld shaping. Thick and depressed-centre, worked at a shallow angle to the surface. Produces a coarse finish. Not for cutting.
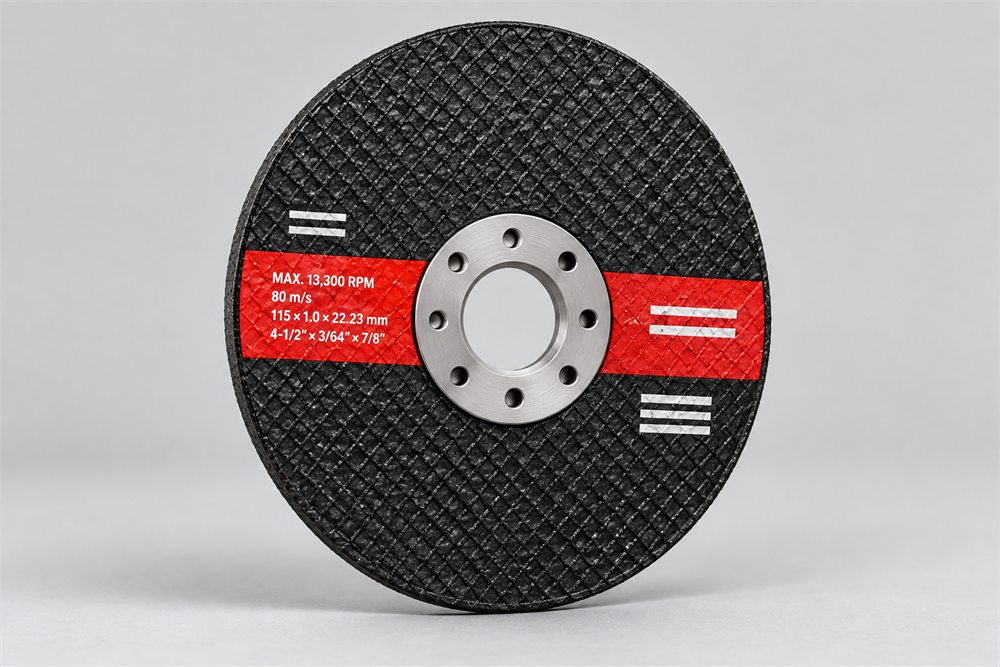
Cutting bar, sheet and section. Thin and rigid. Use the edge only and never apply side load, which shatters the disc.
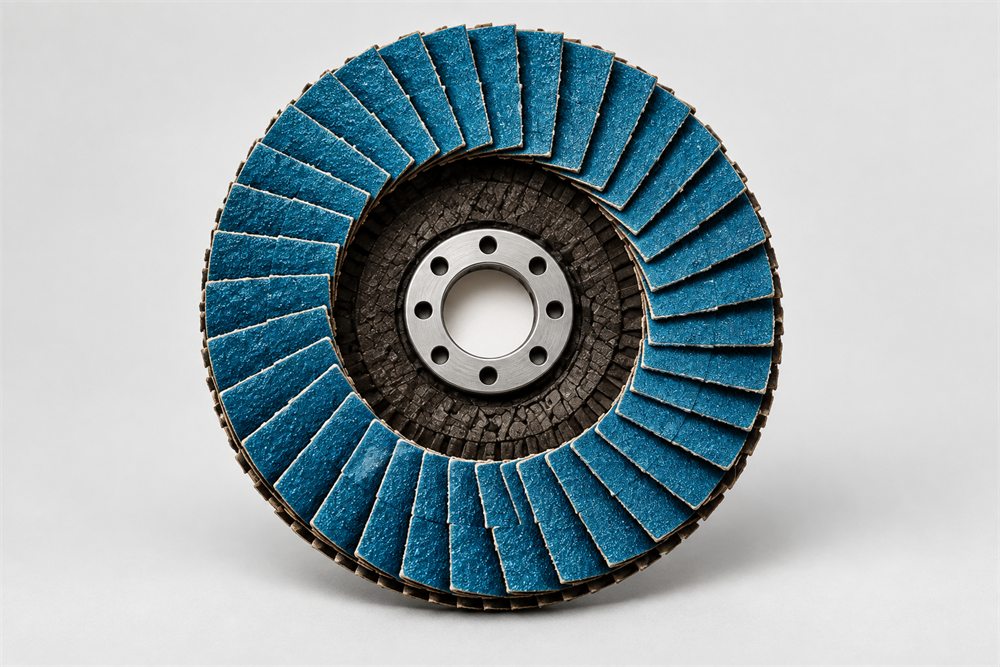
Blending, deburring and finishing with the face flat to the work. Gives even contact across a wider area. The grit determines the finish.
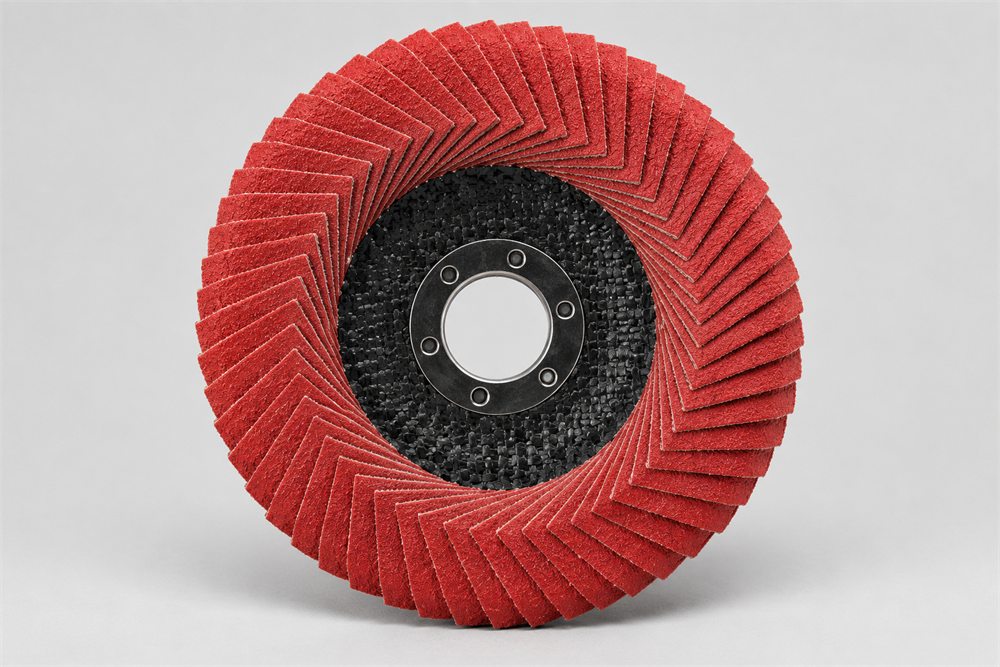
The conical face suits working at an angle, along edges and into corners. More aggressive on a narrow contact area than the flat type.
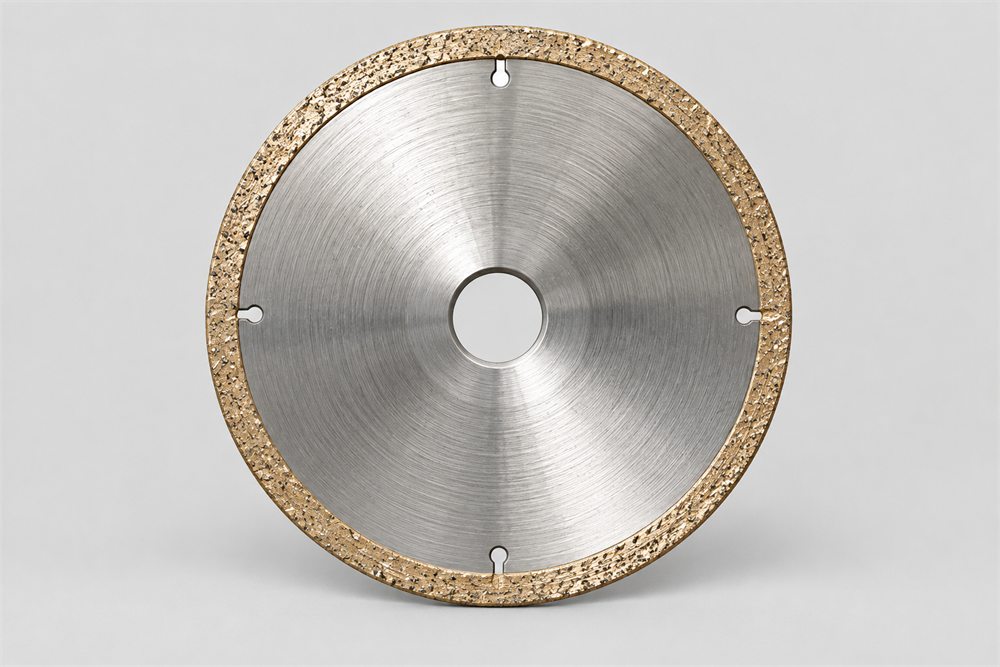
Smooth unbroken rim for tile, stone and other hard non-metal material. Cuts more slowly than a segmented rim but leaves a cleaner edge with less chipping.
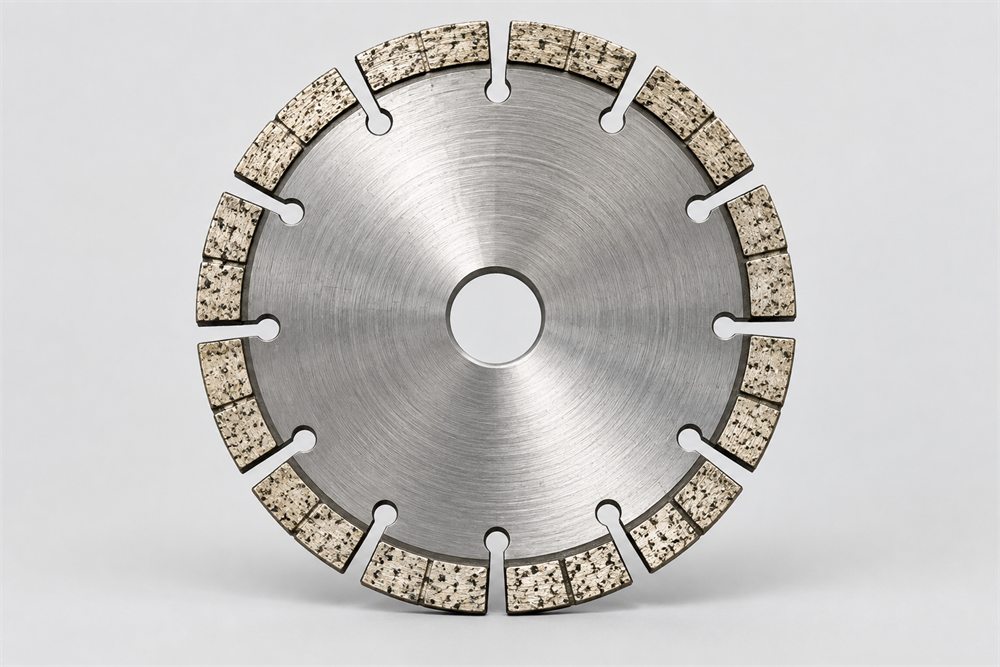
Slots between segments clear debris and help cooling, so it cuts masonry and concrete faster. Leaves a coarser edge than a continuous rim.
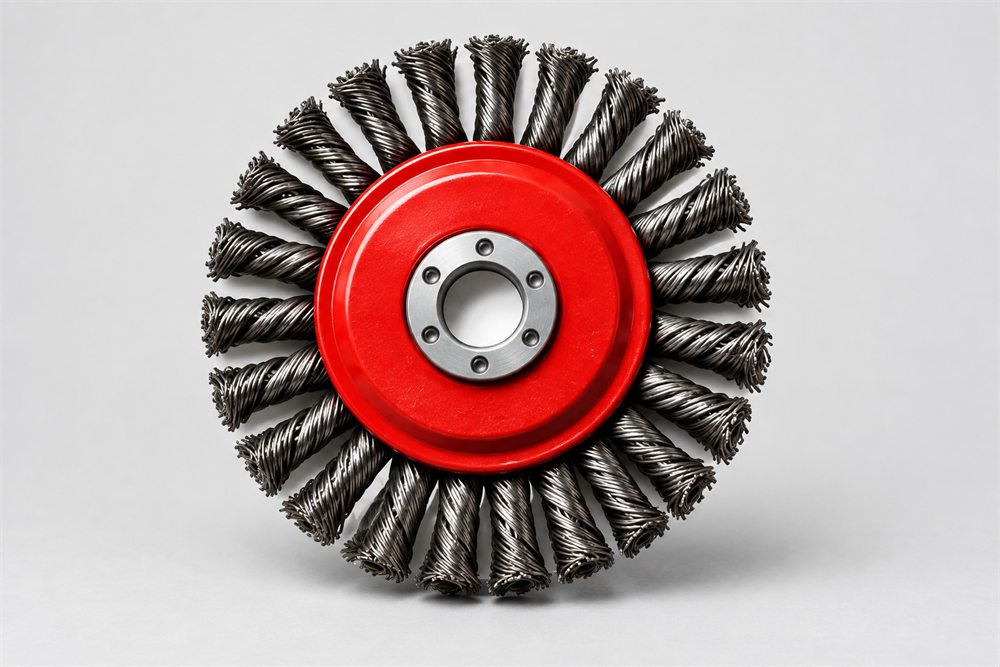
Removing rust, scale, paint and surface contamination without shaping the metal. The radial form suits edges, corners and weld seams.
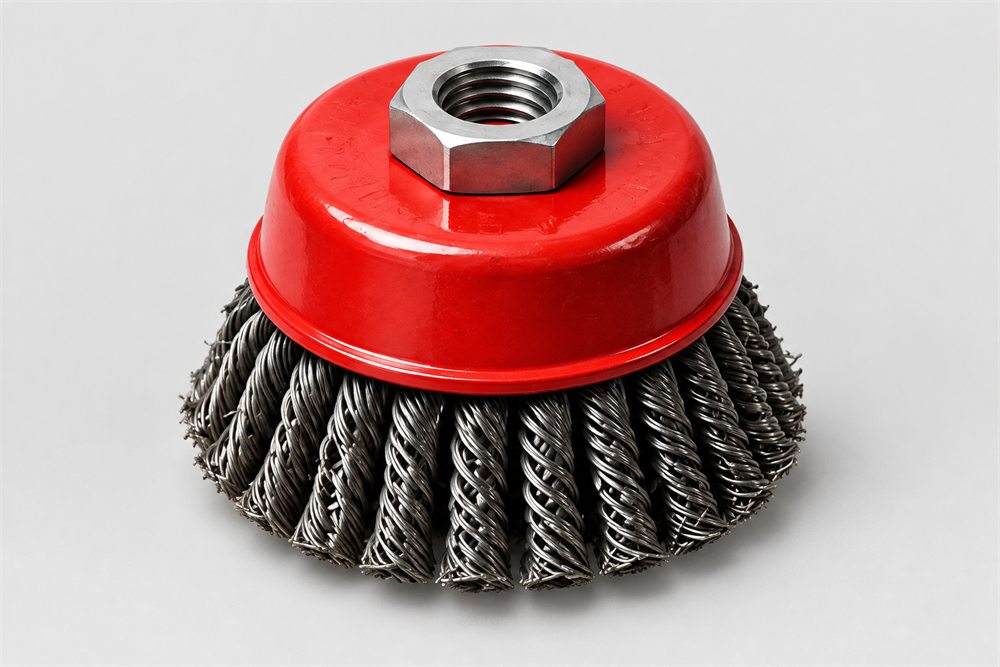
The cup form covers larger flat areas faster than a wire wheel. Wear eye and face protection, as wire brushes shed strands in use.
Unusual vibration, poor cutting, visible damage or shedding wire are reasons to stop immediately, isolate the tool and ask a technician.