
Maker Station equipment
Clay
printer
A Delta WASP 2040 Clay extrusion printer that builds ceramic forms layer by layer from a digital model. Available to use by arrangement.
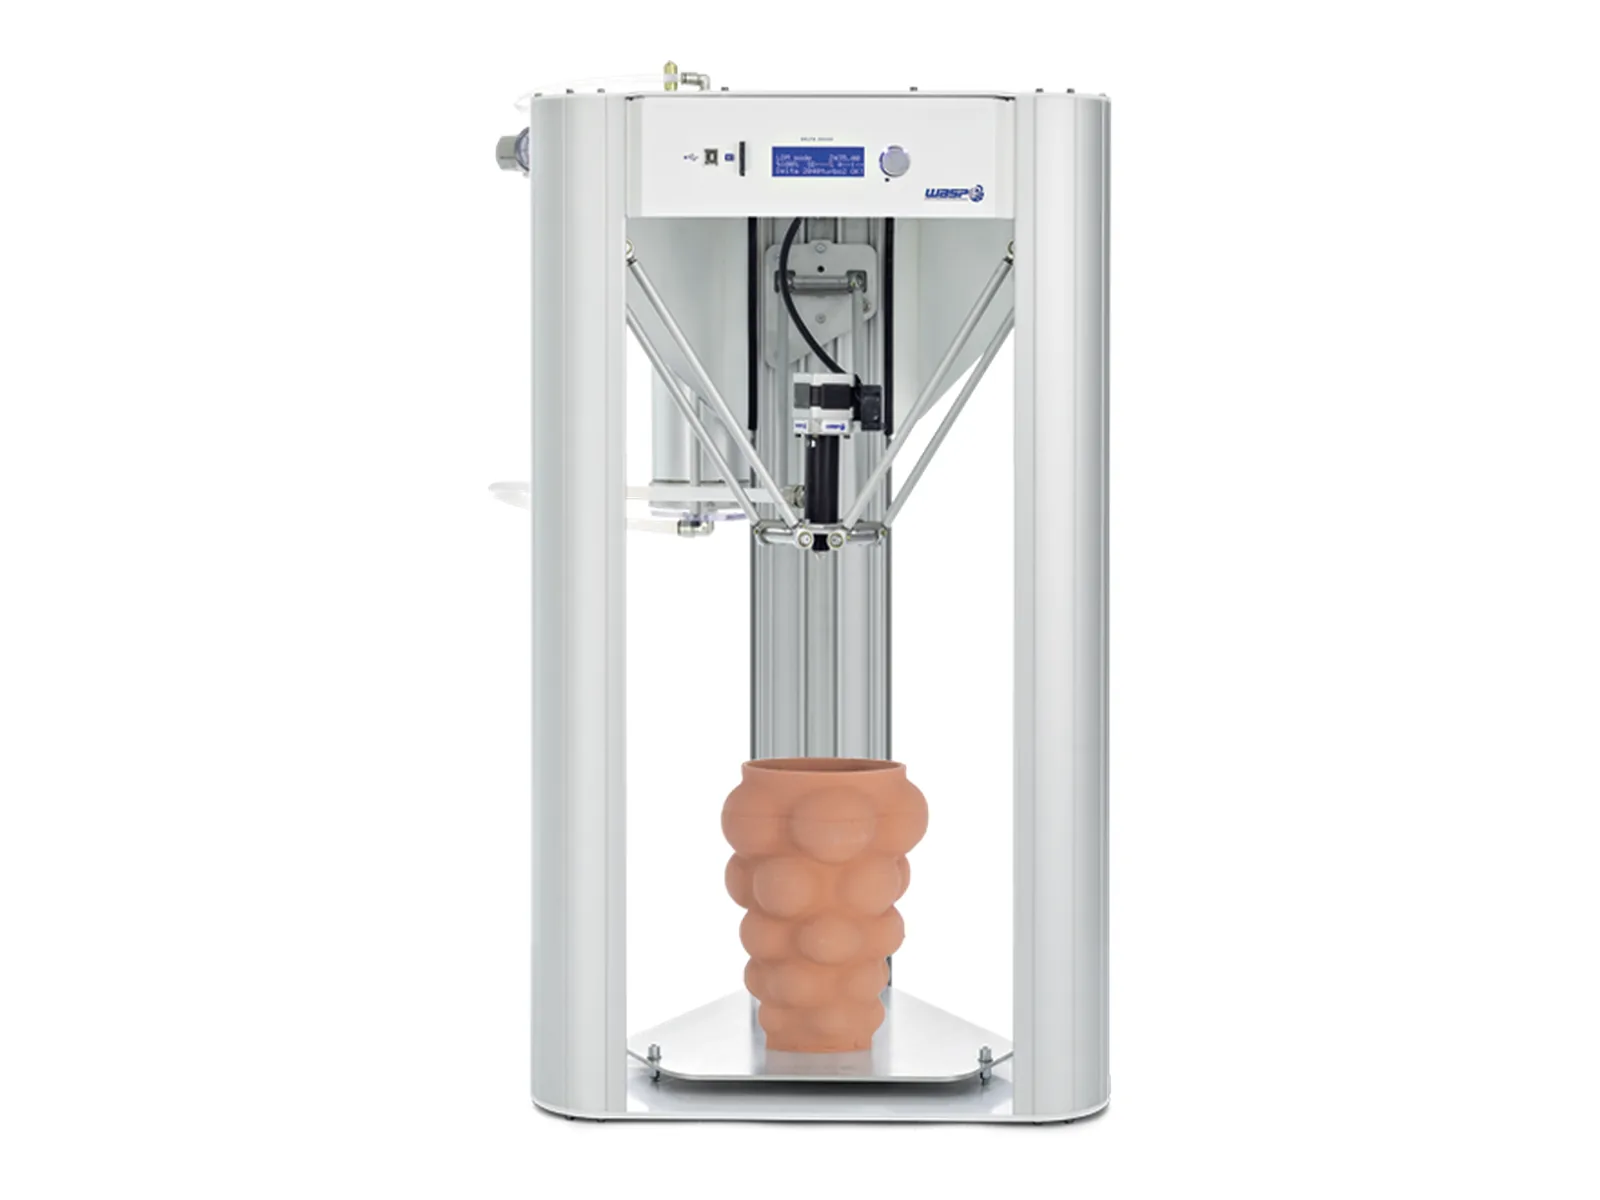
Using the clay printer
The clay printer is available by arrangement. We are not running scheduled workshops for it yet.
Contact Maker Station with your project and we can arrange access and take you through the process.
The machine
The WASP 2040 uses a screw or auger printhead to push clay through a nozzle. A pressurised canister feeds clay to the printhead.
- The rig moves the printhead in three dimensions.
- The printhead deposits a controlled line of clay.
- The delivery system feeds bulk clay from the pressurised canister.
Nozzle and layer settings
The nozzle determines the scale of detail and the practical layer height. Clay normally extrudes slightly wider than the nozzle.
| Nozzle | Approximate wall width | Starting layer height | Use |
|---|---|---|---|
| 1.6 mm | 1.8–2 mm | 0.6 mm | Finer details and smaller objects |
| 2 mm | 2.2–2.5 mm | 0.8 mm | General vessel printing |
| 3.5 mm | About 5 mm | 1.2 mm | Larger forms and faster printing |
Use flatter layers for stability. The station normally prints vessels with a 2 mm or 3 mm-class nozzle and one outer wall, so prints can be much faster than plastic prints.
Print onto a plaster bat or unsealed wooden board prepared as demonstrated. For a closed base, a rolled clay slab is normally prepared first and the wall is printed onto it.
PrusaSlicer setup
Use the station clay profile as the starting point. PrusaSlicer is designed for filament printing, so only a small number of settings are adapted for the clay system.
Material diameter
Material diameter controls how quickly the auger turns. A larger value makes it turn more slowly; a smaller value makes it turn faster. Start with the station value for the WASP 2040 and adjust it only during a supervised test.
- Match layer height and line width to the installed nozzle.
- Use no infill for a single-wall vessel.
- Preview the complete path and remove unnecessary travel moves.
- Keep a note of the nozzle, clay, pressure and settings used for a successful print.
Clay and shrinkage
Consistency
Clay needs to be soft and free of air pockets so it feeds continuously, but firm enough for each layer to support the next. Toothpaste consistency is usually too soft: it may extrude easily but the form can slump or collapse.
Start with well-wedged soft clay and make small adjustments during a supervised extrusion test. Do not compensate for unsuitable clay by increasing canister pressure without guidance.
Shrinkage
Clay shrinks during drying and firing. Printed forms can shrink differently vertically and horizontally, so test the actual clay body before making a dimension-critical piece.
| Clay type | Indicative vertical shrinkage | Indicative horizontal shrinkage |
|---|---|---|
| Stoneware | About 13% | About 8% |
| Porcelain | Up to 20% or more | Up to 16% |
These indicative shrinkage figures came from printed samples fired to approximately 1220 °C. Printed forms usually shrink more vertically than horizontally, but the actual result depends on the clay body, geometry and firing schedule.
Drying and firing
Dry the object slowly and evenly. Avoid direct sun, drafts and concentrated heat. Cover complex forms loosely if they need slower drying.
- Green clay. Newly printed and very fragile.
- Leather hard. Firm enough for careful trimming and surface work.
- Bone dry. Fully air-dried before kiln loading.
- Bisque firing. The first firing creates a porous but stable ceramic.
- Glaze firing. An optional second firing for the finished surface.
Hollow forms must be vented and completely dry before firing. The kiln schedule and clay body must be approved by the ceramics technician.
Safety
- Follow the supervised procedure for pressurising and depressurising the canister.
- Never open the canister, disconnect a line or adjust a fitting while the system is pressurised.
- Keep hands, tools, hair and loose clothing clear of the moving rig and auger printhead.
- Clean wet clay using the station procedure and avoid creating airborne dry clay dust.
- Do not fire a print until it is fully dry and approved for the kiln schedule.
Resources
Jonathan Keep's Blender series, WASP's online clay modeller and slicer, and Potterware.
Frequently asked questions
What types of clay can be used?
Stoneware and porcelain can both be printed, but the clay body must have suitable plasticity and be prepared for the extrusion system. Confirm it through a supervised test.
How long does a clay print take?
A simple cup or small single-wall vessel can print in about five minutes. A larger vessel may take around 30 minutes to an hour. Nozzle size, height, wall count, speed and geometry determine the actual time.
Why did the print slump or collapse?
The clay may be too soft, the layers may be too rounded or tall, or the extrusion may be arriving faster than the form can support it. Stop and adjust one factor at a time with staff.