
Maker Station equipment
3D
scanner
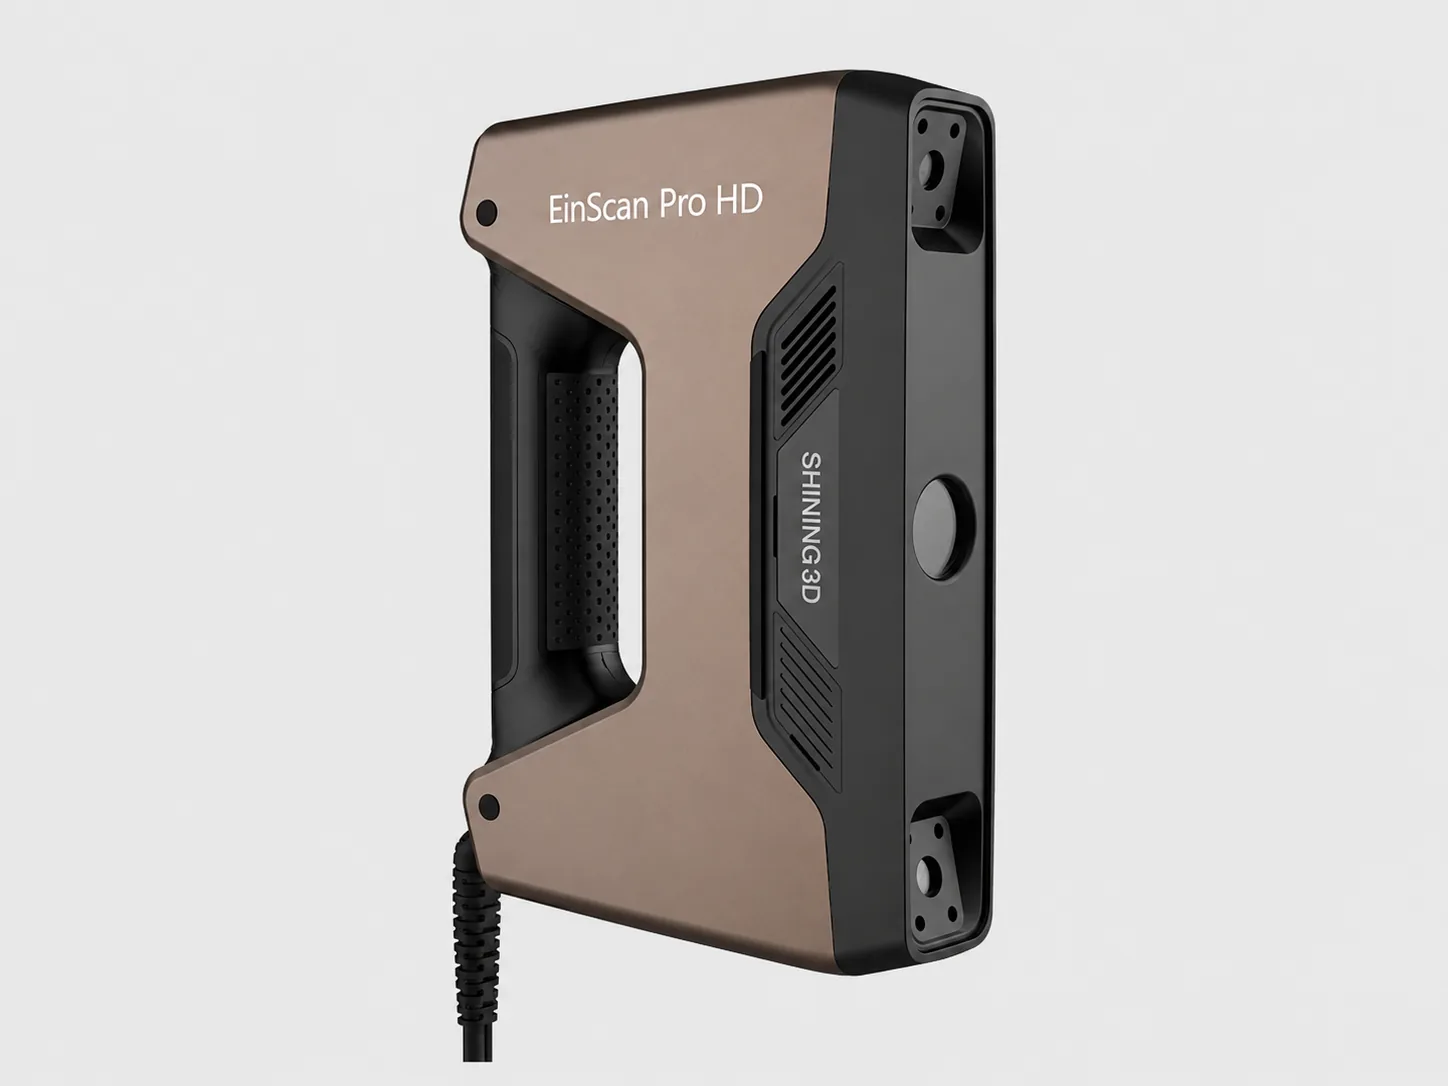
An EinScan Pro HD structured-light scanner that captures physical objects as digital meshes. It has no Colour Pack, so it records shape rather than texture.
Training and access
3D printing and 3D scanning are taught together as one route of two three-hour sessions. You must complete both sessions. View the workshop route.
The scanner is covered in the same route as the 3D printers. Once you have completed both sessions you can book it through SISO and use it for your own projects. It may be booked and used outside staffed hours while the Maker Station room is open.
The scanner is an EinScan Pro HD. It has no Colour Pack, so it captures shape rather than photographic colour or texture.
Modes and alignment
Choose a scan mode
| Mode | Use it for | Trade-off |
|---|---|---|
| Handheld HD | Detailed handheld scans of small or medium objects | Slower capture with a smaller scanning area |
| Handheld Rapid | Larger objects and faster general capture | Lower detail than HD mode |
| Fixed scan | Stable small objects requiring controlled, repeatable views | Requires the compatible tripod or turntable equipment |
Choose an alignment method
| Alignment | Use it when | Marker guidance |
|---|---|---|
| Features | The object has varied, distinctive geometry | No markers are normally needed |
| Markers | The object is smooth, flat, repetitive or symmetrical | Use clean 3 mm markers in an irregular pattern and keep at least four visible in each overlapping scan area |
| Hybrid | Most geometry tracks well but some areas need help | Add markers only where tracking is likely to be lost |
| Texture | The surface pattern would provide tracking information | Not available because this scanner has no Colour Pack |
Workflow
- Set up. Connect the approved power and USB 3.0 cables, keep them clear of walking routes and launch EXScan Pro.
- Prepare the object. Place a rigid, stable object under soft, even indoor light. Avoid direct sunlight, movement and vibration.
- Select mode and alignment. Base the choice on object size, required detail, geometry and whether markers are needed.
- Set brightness. In the exposure preview, red indicates overexposed areas. Reduce brightness if large parts of the object are red; increase it if the object is too dark to read. Aim for a clear object with little or no red. A few isolated red highlights are acceptable.
- Scan with overlap. Move smoothly, keep the scanner near the indicated working distance and retain enough overlap for the selected alignment method.
- Inspect while scanning. Stop and return to the last clean area if tracking is lost or doubled geometry, ghosting, holes or unwanted background data appears.
- Complete all required views. Capture each side needed for the final model and confirm that the scans align cleanly.
- Process and export. Remove unwanted capture, build the point cloud, inspect it, then mesh and export deliberately.
Short introduction

Load the 3D scanning video?
This three-and-a-half-minute overview demonstrates setup, calibration, mode selection and a basic scan. YouTube will receive information including your IP address when you load it.
Watch on YouTube instead ↗Processing and export
| Format | Use |
|---|---|
| ASC | Point-cloud exchange |
| STL | Geometry-only mesh for repair, reference or print preparation |
| PLY | Compact point-cloud or mesh exchange |
| OBJ | General mesh exchange. This scanner does not capture texture. |
| 3MF | Modern mesh exchange where supported |
Inspect the point cloud for coverage, noise and alignment before generating a mesh. Hole filling and smoothing can remove evidence or invent surfaces, so keep an unmodified project copy.
An STL export is not automatically print-ready. Check scale, volume integrity, unwanted scan data, holes and the intended base before slicing.
Frequently asked questions
How and when is the scanner calibrated?
Calibration is not part of every capture. Staff calibrate the paired scanner and board at initial setup, after transport or impact, when more than seven days have passed, when the software requests it, or when tracking and accuracy deteriorate.
Use only the board paired with the scanner. Keep the scanner vertical, move the board through the positions requested by EXScan Pro and repeat the process if calibration fails. The short scanner overview includes the calibration sequence.
The scanner is not detected. What should I do?
Confirm the approved power and direct USB 3.0 connections, then alert staff. Do not reinstall drivers, change security controls or run the software as administrator.
Why is the scan noisy, incomplete or doubled?
Return to the last clean area, slow down, maintain overlap and the indicated working distance, then check brightness, ambient lighting and the selected alignment method.
Why will a surface not scan?
Reflective, transparent and very dark surfaces can prevent reliable capture. Ask staff whether an approved removable scanning treatment is suitable. Do not apply household sprays, powders or markers.
Can a scanned object be 3D printed directly?
Not usually. A scan needs cleaning, hole repair, scale confirmation and a considered base before it can be sliced.